Because I didn't think I'd be blogging about it, I forgot to get pictures of the fat rendering process. There are a few different methods, I went with the 'chop-it-up-and-fry-it-then-drain-it' method. I then boiled the liquid fat to purify it. After refrigeration, this is what the final product looked like.
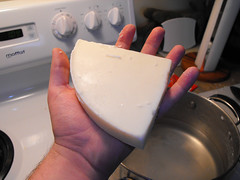
Nice, creamy white tallow! I ended up with about 8 pieces like this, some a little larger.
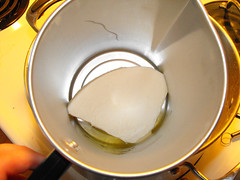
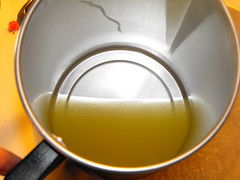
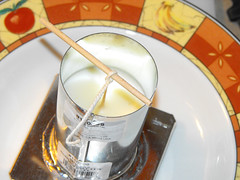
Using a pouring pot (you can get these at any craft store in the candle-making section) in the double-boiler style, I began to melt the tallow. If one was adding fragrance or dye, the second photo would be the time to do that. I declined to do so with this batch.
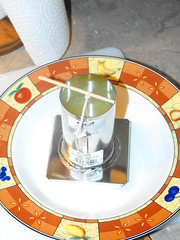
I had also purchased a candle mold (also available at any craft store). This is what the prepared mold looks like. I won't go into much detail here because they come with instructions, and in the end I didn't use this mold anyways.

As I was all by my oneseys while doing this, it would have been difficult/dangerous for me to try and get photos of the pouring of the tallow. Here is the filled mold, and again after cooling some.
This is where things went wrong. This mold is designed for use with wax (beeswax, paraffin, soy, etc.) There are significant differences between wax and tallow. Even after cooling for hours, the candles refused to leave the mold. After 3 attempts I got frustrated and I may have sworn a little bit. Maybe. Anyways, I decided to try something different, and used the bottom of a paper milk carton as a mold instead. I also figured that since I was no longer using a traditional method, I'd throw in some colour (red) and scent (apple blossom). Because I was pissed off I once again forgot to get pictures.
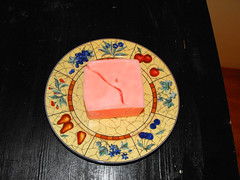
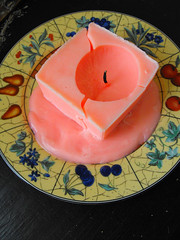
Here is the candle after being removed from the mold. It turned out pink, as you can see. Like, pepto bismol pink. Even though I used (what I thought) was extra dye. I made another mistake here, by putting the mold in the freezer. As soon as I removed the candle it cracked in half. I decided to just go for it anyways.

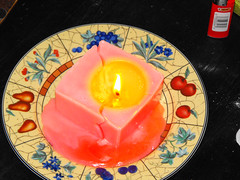
Since Crystal was home now, I enlisted her help in lighting the candle while I got photos. She burned herself with the lighter, flinched, and brought her hand directly down on the candle...

After some more cussing, we decided to light it anyway. This was one of the few things that worked out. Despite a little bit of sputtering, the flame burned clean. There was none of the black smoke our foul stench I had been warned about. After burning for a while, another crack formed and a lot of the tallow spilled out, so I decided to extinguish the flame before things got too messy.

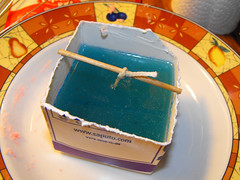
Immediately after I was sure the candle would work, I poured another one. This time I used blue dye and rain forest fragrance. It turned out a pastel blue colour, even though I used even more dye than in the previous candle, and it had a bit of a speckled appearance. I think the problem may have been that I didn't allow the dye to melt thoroughly enough before pouring. You can see this candle in action at my daily photo blog.
For my next attempt, I combined the remains of the pink candle and the rest of the blue wax (and even more dye). Since I wrecked my paper mold removing the blue candle, I had to find a new mold. I decided to go for an energy drink can, though removing the candle may be a bit tricky this time. I'll update soon.
Read the rest of this story here.

No comments:
Post a Comment